Rain Water Harvesting Overview
Water-wise isn’t just about using less water, it’s also about being creative with the water we do have — especially the free kind that comes right from the sky. As evidenced by the memorable storms of recent winters, rain events are predicted to become more severe and less frequent in our area, meaning that we’ll receive occasional surges of valuable but potentially destructive water. How can we re-envision our developed landscapes to more effectively utilize the gift of rain?

Here are three methods for DIY rainwater catchment that can help you become a water-wise wizard and a model to your friends and neighbors.
1) ‘Slow it’ with rain catchment systems
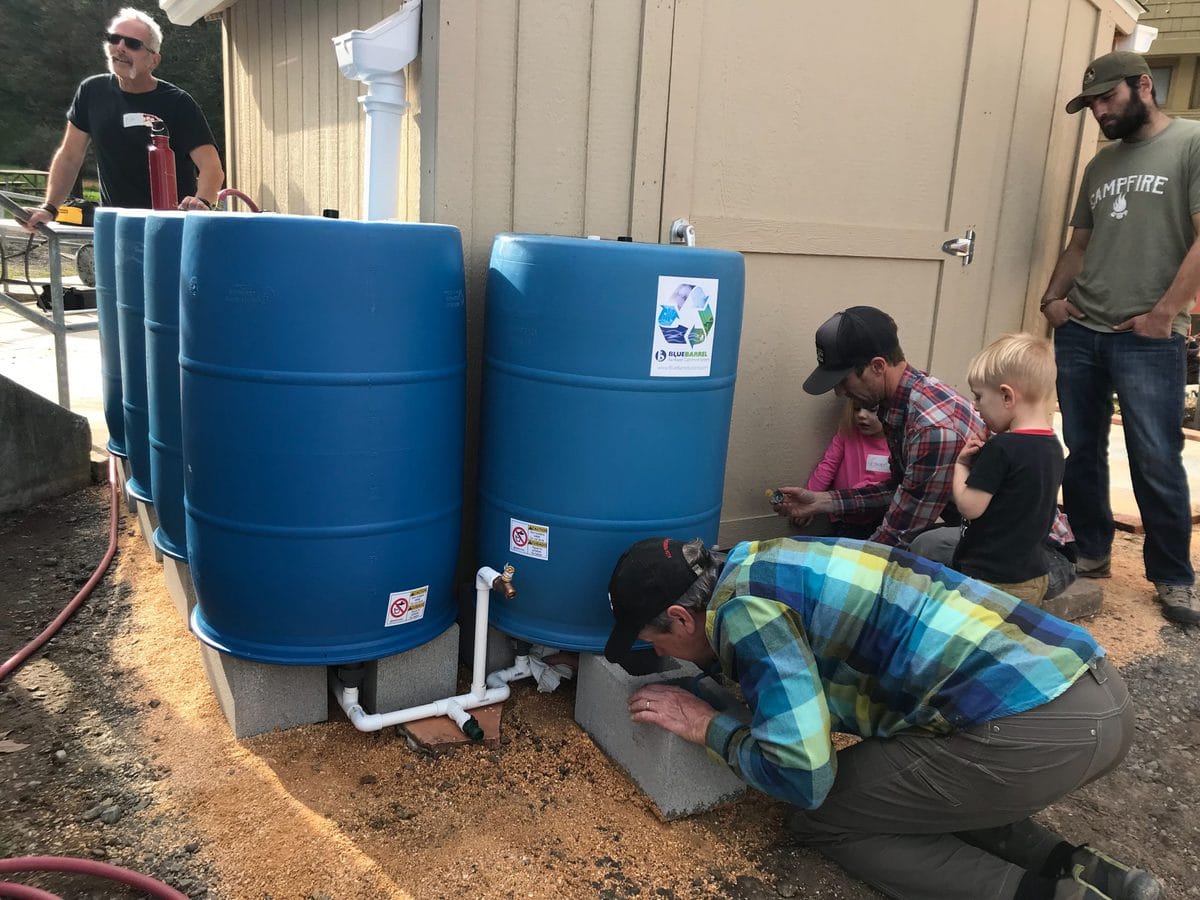
The simple installation of rain barrels, tanks or cisterns off of your home’s rain gutters is becoming a relatively mainstream concept, with information and materials readily available in your local hardware store. There are many ways to go about designing your system so that it can effectively store a whole season’s worth of rain, or just individual rain events. Depending on your storage capacity this free water source can be used for irrigating your landscape during dry months, reducing both your water bill easing your conscience at the same time. To give you a sense of how much rain you can collect: a 1000 square foot roof will shed 600 gallons for every inch of rain that falls!
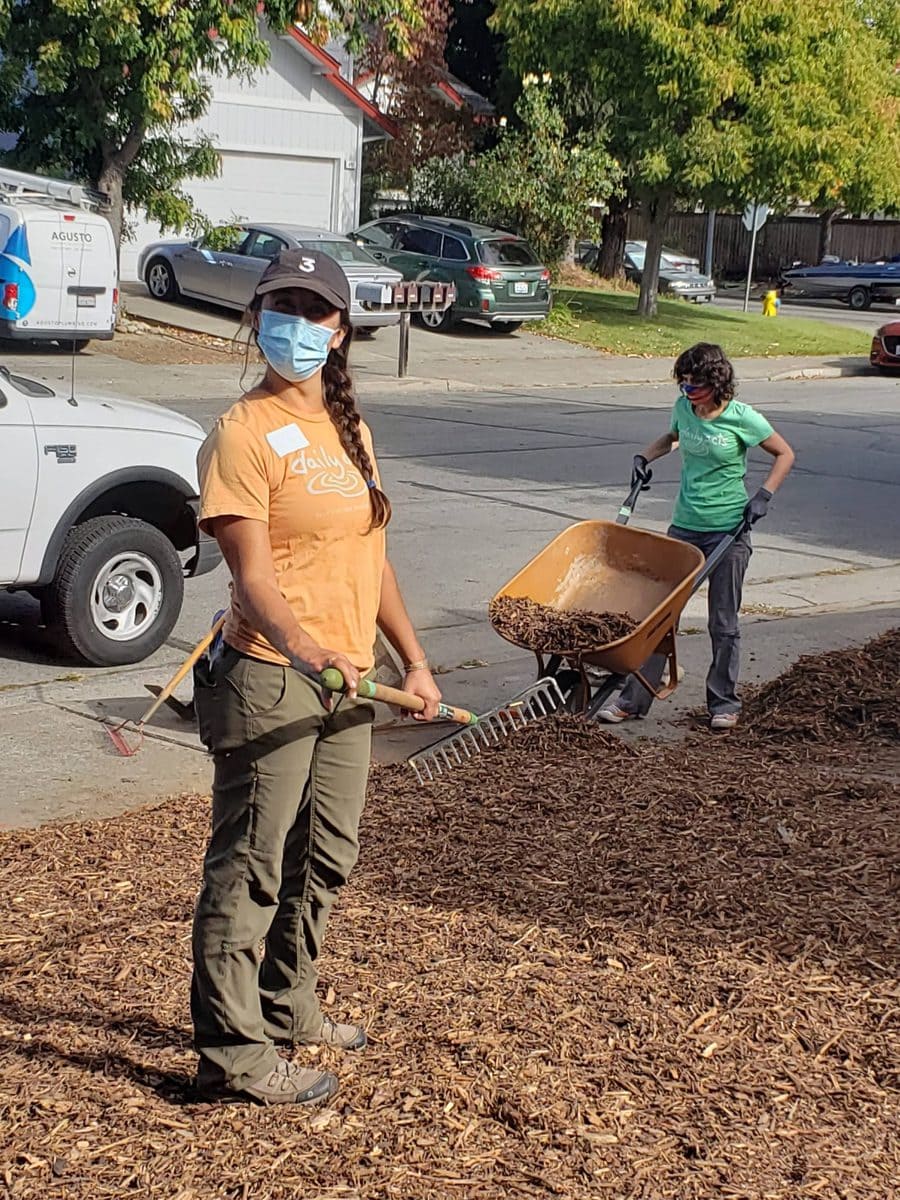
2) ‘Spread it’ with mulch applications
The unsung hero in the garden landscape: mulch provides numerous benefits besides the aesthetically pleasing ‘finished look’. Adding a layer of mulch to your garden can help cut down on erosion, minimize compaction of soil during heavy rain events, maintain soil temperature, replenish organic content of soil as it breaks down and prevent weed growth. Organic mulches like woodchips have a high water-holding capacity, which creates additional storage space for excess water until it can be taken up by soil and plants. Generally applied to lawns, sheet mulching is a process in which compost, cardboard and woodchips are added to the landscape in thin layers, creating more surface area to spread and capture rainwater on-site, while reducing weeds and increasing soil fertility as it decomposes.
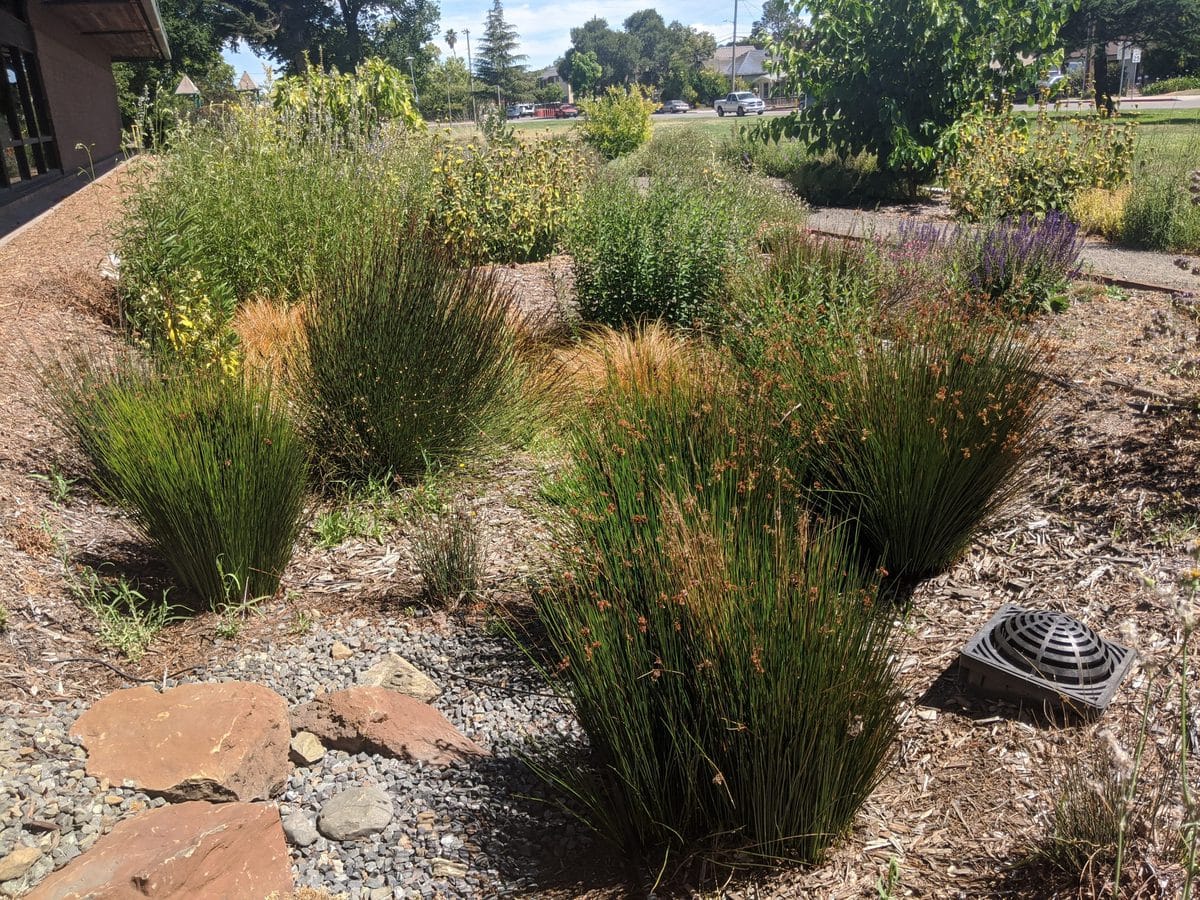
3) ‘Sink it’ through rain gardens and bio-swales
The addition of rain gardens and swales in your landscape offers two simple ways to increase stormwater capture and recharge our aquifers. These strategically designed low depressions and channels create holding places for water to collect and sink rather than run off over heavily saturated soils or impermeable surfaces. While both of these features can function well with a dry riverbed look, incorporating water-wise plantings will increase both the aesthetics and the benefits. The use of native plants in particular can provide much needed habitat, slowing the water and acting as bio-filters for harmful pollutants all at the same time. Be sure to place plants best suited to wet conditions in the center, moving from seasonally wet preferences into dry conditions towards the edges for best results. Check out this video tour of our rain garden at the Petaluma Library!
Where do you find the resources to make all your conservation dreams come true?
Many of our local municipalities in Sonoma County have incentive programs to help residents reduce water use both inside and outside the home. Programs like Petaluma’s ‘Mulch Madness’ (which delivers cardboard, mulch and compost to your door for free!), Cotati’s ‘Cash for Grass’ and Windsor’s ‘Efficiency PAYS’ program all provide incentives to reduce outdoor water use. The City of Santa Rosa’s ‘Green Exchange’ program also offers similar programs along with a rebate for installing a residential rain catchment system.
If you’re looking to grow your skills and gain some hands-on experience or guidance before taking the plunge, Daily Acts offers workshops throughout the year on rain catchment system design and installation, rain gardens, bio-swales and sheet mulching.
Rain Tanks and Barrels
 Collecting rain from the roof of your house is easy, practical and can provide long-term savings on your water bill. Rain catchment also reduces the amount of runoff that flows into creeks and storm drains, easing the burden on wastewater treatment plants and reducing the amount of pollutants washed into local streams and rivers.
With California’s seasonally wet climate, rainwater catchment can help stretch the wet season well into the summer months.
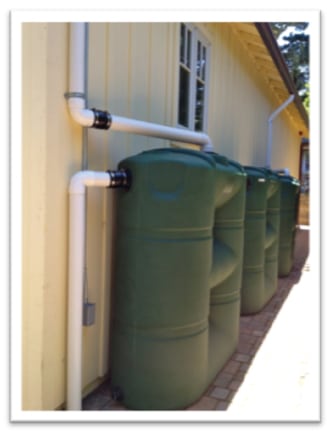
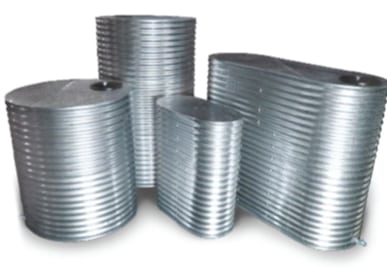
Types of Tanks and Barrels
Rain tanks and barrels are available in a wide range of sizes and shapes. Some are designed to stand flat against the house, some are round and some are like giant bladders that can rest underneath a porch or in an old swimming pool. Rain can also be stored in tanks underground.Keep in mind that for tanks over 5,000 gallons you’ll need to get a permit before installing.
Although the prices are coming down, rain collection systems are still relatively expensive. For most systems, you can expect to pay about $1 per gallon of storage. Some systems are more expensive than this, but it is also possible to set up low cost systems using recycled food storage barrels.
How Many Gallons Should You Collect
The size of your collection system will depend on how much space you have for tanks, what your budget is, how big your roof is and what your water needs are. Each situation will be different so it is up to you to decide how big you want to go. If you have the space, the money and the need for a lot of irrigation water, than a big collection system would be right for you. That said, starting small is a great way to go, especially with modular systems, which can be expanded over time.
Roof Materials and Health Concerns
Most roofs are safe for collecting rainwater, but there is potential for leaching from some roof materials. This is mainly important for collecting drinking water (which is not legal in California) but might be a consideration if you are using the rainwater to irrigate vegetables. There is no consensus about which roof materials are best (or worst) but brand new roofs can leach more pollutants than older, weathered roofs.
Roofs that are close to busy streets or large vineyards can collect car exhaust or pesticides from spraying, but a first flush system (see below) can be easily installed to shed any polluted water.
First Flush System
If your roof tends to accumulate leaf litter and other debris, then a first flush system can be installed to divert the initial flush of water that comes off the roof in a storm, keeping the rain tank free of debris, pollutants and harmful bacteria.
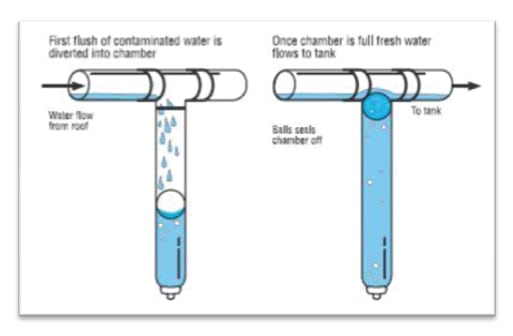 The first flush system is essentially a mini collection system, which fills up first before allowing the rainwater to flow into the rain tank. Once the first flush system is filled, a floating ball plugs the inlet, allowing the rest of the rainwater to go straight to the rain tank. The first flush system should be drained between major storms or if a lot of new leaf litter or pollutants have collected on the roof.
Calculating Catchment Potential
Total Catchment Potential (gal)= A x R x 0.6
The amount of water you can collect is determined by the catchment area and the amount of rainfall. The calculation that is most often noted is that you can collect about 600 gallons of water from one inch of rain falling on a 1,000 square foot roof. To determine your collection potential, first estimate the square footage of the roof you’ll be collecting from, then plug that into the following equation.
- A = catchment Area in square feet (see formulas for different shapes)
- R = annual Rainfall in feet = annual Rainfall in inches / 12
- 0.6 is a run-off coefficient. In rain events, some water is lost to evaporation and minor infiltration to the catchment surface. The coefficient represents the amount of water that runs off your roof into your system. While runoff efficiency differs depending on the material of the catchment surface, 0.6 is a commonly used coefficient.
Irrigating with Rainwater
The easiest way to irrigate with rainwater is to hand water by filling up a watering can from the spigot on the rain tank or attaching a hose to the rain tank. You can also attach a soaker hose if you have enough pressure (hint: drill larger holes in the soaker hose to reduce the need for a high pressure system). The higher uphill your tanks are from the area you want to water, the more pressure you’ll have.
Rainwater can be run through drip irrigation but you’ll need to install a pump to get the appropriate pressure. This set-up works better with a larger rain tank, rather than smaller barrels.
Overflow and Safety
An overflow pipe should be installed to direct excess water to a rain garden, a swale or to a storm drain if necessary. Rain tanks and barrels should be strapped to the house to keep them from falling over in the event of an earthquake.
Additional Resources and Readings
Download the official ‘Slow It. Spread It. Sink It. Store It!’ booklet (PDF)
Watch this webinar recording on rainwater catchment with Jesse Savou of Blue Barrel Systems
Watch this recording of a conversation about sheet mulching and Petaluma’s Mulch Madness program
Rainwater Harvesting for Drylands and Beyond – Brad Lancaster
Check out the Rainwater Harvesting Rebates from the Sonoma-Marin Saving Water Partnership to offset costs of rain tank installation


