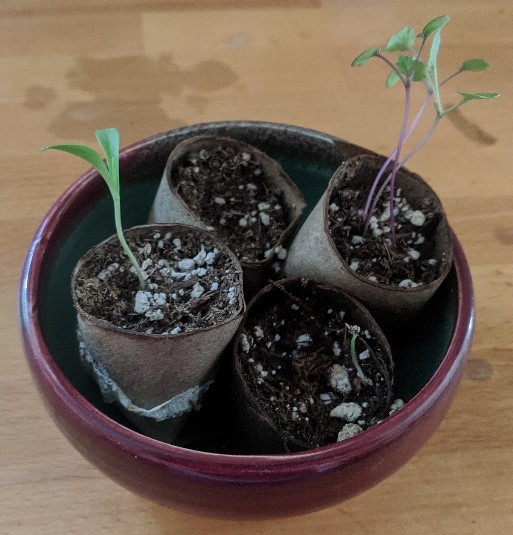
Step 1: Determine what type of container you will use. Any container will work as long as it has good drainage. I’ve used toilette paper rolls or old plastic containers with holes poked in the bottom.
Step 2: Prepare label with plant name and date. You can use popsicle sticks or yoghurt containers cut in strips, or other creative household items.
Step 3: Place your seeds on a plate. It’s best not to touch the entire seed packet with wet hands as moisture could cause the remaining seeds to begin the germination process.
Step 4: Fill containers with soil (see recipe below). The important components of seed-starting soil are that it retains moisture, has good drainage, and isn’t too nutrient rich(you wouldn’t want to seed into 100% compost). Remember, your seed contains all the energy it needs to germinate!
Seed Starting Mix
- 2 parts compost
- 1 part coir (coconut fiber) or well-rotted leaves
- 1 partperlite
Step 5: Plant seeds at a proper depth. Most seed packets will provide instructions, but a good rule of thumb is to plant at a depth of 3 times the width of each seed.
Step 6: Water seeds and place in bright window. Seeds need consistent moisture to germinate so check on your containers daily.
*Note: While many seeds don’t require light to germinate, your starts will need lots of light once they sprout.
*Photo credit: Annie Silverman


