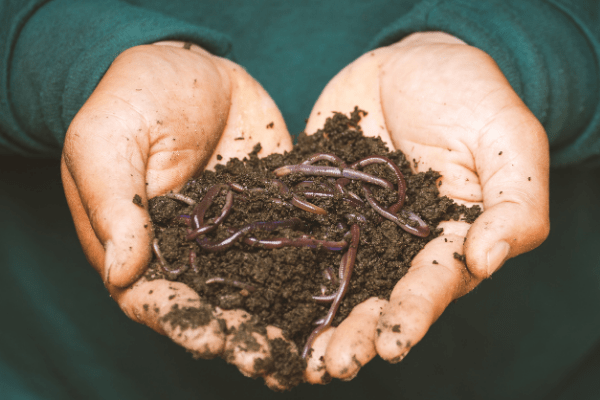
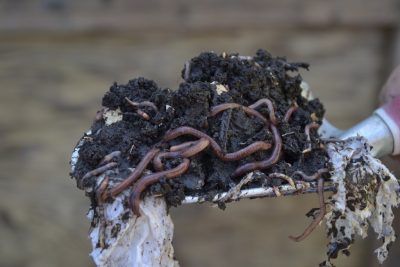
Vermicompost is the result of worms and other micro and macro organisms digesting organic matter. As worms eat organic matter, they leave behind worm castings. Yes, we mean worm poop! This is the product of vermicomposting – castings are full of nutrients and microorganisms. If this all gives you the heebie-jeebies, that’s totally fine! It’s not for everyone. You can always stick with basic composting.
Vermicomposting isn’t the best tool for large amounts of yard waste, but it will help you close the loop on your food waste and provide a high-quality soil additive in the process. Vermicomposting doesn’t utilize the earthworms you’d find out in your garden though. Instead, you need redworms or red wrigglers, which can churn over large portions of food waste quickly, reproduce well in confined spaces and hang out around the surface of the pile while feeding. These worms like adequate moisture and being at room temperature.

Getting started
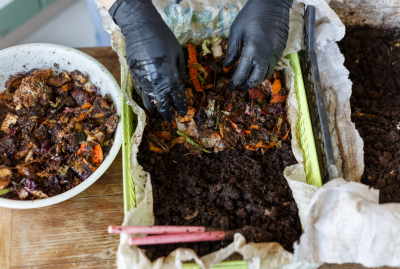
You can buy worm bins at garden centers, but they’re actually quite easy to make at home, and you may have the materials to upcycle one already on hand. One common style of homemade worm bin uses large plastic tubs, typically the kind that can nest on top of one another. You can use wood, but avoid cedar as it has antimicrobial properties that will harm your worm community. A common size for worm bins is 24” x 18” x 18”. If you opt for plastic, you’ll need to properly ventilate by drilling holes in the sides and bottom of the bins. Here is a resource for an in-depth guide to making a worm bin.
Once you’ve got your bin, set it up so that the bottom is raised above the ground so that air can flow through. Then add bedding by filling the bin about halfway with damp, shredded newspaper and a handful of soil from your garden or a handful of finished compost. This will give the worms the grit they need to digest food; a small handful of eggshells would work too. Next, add your worms!
To determine how many pounds of worms are needed to start your bin, just divide the cubic footage in half. E.g. if you have a 4 cubic foot bin, you will need 2 lbs. of worms to start it. Worms can be purchased online, but if you’re in Sonoma County, you can buy locally grown worms at https://sonomavalleywormfarm.com/
Next, feed them! Not all materials suitable for regular compost can be fed to worms. Stick to fruit and veggie scraps, coffee grounds, eggshells, teabags, and plant trimmings. You may want to avoid citrus, onions, hot peppers, and scraps cooked in oil. Start by feeding the worms less than you will in the future. Feed them a 1:1 ratio of weight to bin size each week. In other words, if your bin size is 4 cubic feet, feed the bin only 4 lbs. of food scraps each week during the first few weeks, and try to feed the worms only once per week. Each time you feed the worms, add more bedding. You may need to add moisture, too; a spray bottle is helpful.

Harvesting
When the bin starts to fill with castings, it is time to harvest. The easiest way to do so is to “Divide and Dump.” Here is a description of this method from Sonoma Compost:
- Dig into the top layers of visible food and worms with a flat nose shovel. Remove and set this material into a wheelbarrow or container. Notice carefully where the “line” between visible food scraps and finished material begins. This is typically about 4-6” deep into the bin.
- Next, remove the “finished material”. You may notice worms in this material as well, though they are typically smaller and fewer in population than the top layer.
- Place the “finished” material in a curing box you have built for that purpose. This is typically a wooden box with ample drainage and airflow holes, raised off the ground, and with a lid.
- Leave the material in the box for two months. After this time, the compost has aged and is ready for use.
Another option is to concentrate all your food scraps on one end of the bin for a week or two. Eventually, all the worms will migrate to that side and you can scoop castings from the vacant side.

Application
You can use the castings as you would any compost – in your vegetable beds, around fruit trees, in ornamental gardens and even in your house plants. Just mix the castings with the top inch or two of soil and water in well. Some commercial bins have drip pans to catch any excess liquid that drains from the bin. It can be a good idea to replicate this with your homemade bin (especially if you keep your bin inside), both to prevent spills and also because that liquid is itself good fertilizer! You can also use castings to make excellent compost tea.
Bonus: check out this awesome webinar from Master Gardeners, the Wonderful World of Worms

